
A local dealer in Tezpur once showed us his order register & it made for pretty grim reading – one poor soul had ordered a staggering 550 bags for a 1200 sq ft house but only managed to use 410. That left the dealer sitting on a massive 140 bags that went to waste for four months after the cement had passed its shelf life – he was left with no option but to sell half of it back to the customer at a loss. & just a few pages further on in the register , we came across another customer who’d totally underestimated their needs – they’d run through their cement supplies before finishing the slab & had to shut down the concrete pour for a couple of days just waiting for a new delivery to turn up. The resulting delay made for a pretty unsightly “cold joint” in the finished slab.
Both of these are just different sides of the same coin – nobody had ever actually bothered to crunch the numbers & figure out what they actually needed. This post is going to walk you through how to do that – we’ll cover the formulas you need to use plus a step by step example you can use as a template for your own house.
Most Cement Orders Are Guesses
Ask around most construction sites and you’ll hear the same old story – people just wing it when it comes to figuring out how much cement they’ll need, using everything from the mason’s gut feeling about what worked on previous jobs to a rough guess based on some neighbor’s house down the street that they overheard talking about their own cement costs. And neither of these methods takes into account the specifics of your mix, the thickness of your walls, how deep you’re laying the slab, or whether you’re slapping on a plaster coat. The upshot is that most homeowners end up with too much cement lying around, taking up space and slowly degrading in storage – or worse, they run out mid-project and have to scramble.
What Bad Estimation Actually Costs
Don’t think over-ordering is just a minor hassle – cement is a thirsty stuff that absorbs moisture from the air, even when it’s sealed up tight. Most suppliers reckon it’s only good for about 3 months after it’s made if you want to get the full benefit from it. And in humid places like Northeast India, that 3-month window shrinks faster than in drier regions. The result is that you’re either stuck with cement that’s no good for the job, or it’s now weakened by being stored for too long – and that shows up in the finished product.
And then there’s the problem of under-ordering. The whole point of a concrete pour is to keep the thing moving smoothly – any gaps between pours means you’re left with a “cold joint”, a weak spot where one batch of concrete has started to set before the next lot bonds to it. And one of the most common causes of cold joints is running out of cement mid-slab or mid-beam and having to wait for another delivery to turn up. It’s a more common problem than it needs to be, but it’s also one that’s easily avoided – if only you got your ordering right in the first place.
Both of these problems just boil down to one thing: getting your ordering sorted out before the pour, rather than trying to wing it during the actual job.
How to Actually Calculate Cement Requirement
Cement quantity estimation boils down to using a consistent method on each part of the house – the foundation, the bits that support the walls (columns and beams), the roof, the brickwork, and the plaster.
Step 1: Get A Grip On The Basic Formula
The calculation for any concrete or mortar work will go something like this:
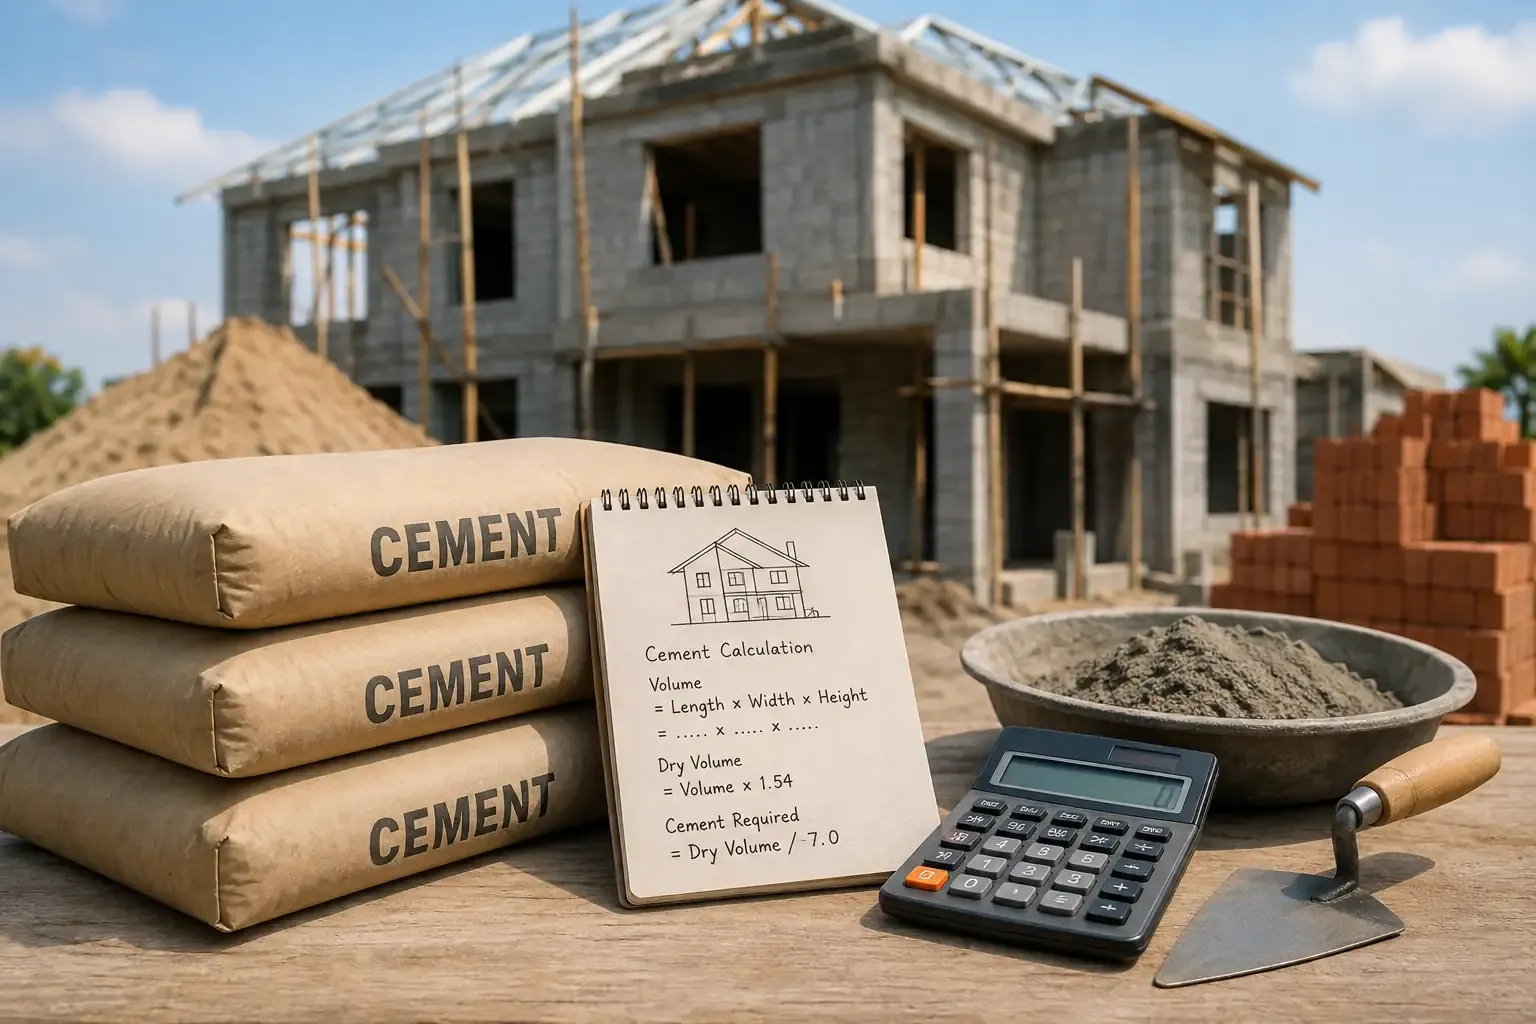
- Find the volume of wet mix – this is how much mix you actually need (length × width × thickness, basically).
- Adjust that to dry volume – concrete loses some volume as it sets because there are gaps between the aggregate particles, so you need to multiply the wet volume by a number that takes into account how much it shrinks & goes to waste. For concrete, its about 1.54, and for mortar (when youre talking plastering and suchlike) its 1.27 to 1.33
- Split that dry volume with the mix ratio – if the mix is M20, for example, which is 1:1.5:3, add all the numbers together (5.5 in this case) and then find out what portion of the dry volume is the cement (which is 1/5.5)
- Turn that into a number of bags of cement – a 50kg bag of cement fills about 0.0347 cubic meters, since cement is roughly 1,440 kg per cubic meter
That’s the entire method. Everything else is just applying it to different parts of the house with the correct ratio and thickness for that component.
Step 2: Worked Example – A Roof Slab
Alright, let’s take a room that measures 10 ft by 10 ft – we’re talking a fairly standard size room here – with a 5 inch thick RCC slab. We’re working with an M20 mix, which is a common mix (1:1.5:3).
- Area: You work out the area as 10 ft x 10 ft = 100 sq ft. and that converts to 9.29 sq m if you need to work in metric
- Thickness: The slab is 5 inches thick – that’s 0.127 in metric terms, for those who need to work in metric
- Wet volume: If you multiply the area (9.29 sq m) by the thickness (0.127m), you get 1.18 cubic meters
- Dry volume: We multiply that wet volume by a factor of 1.54 (that’s specific to this mix) to get 1.82 cubic meters
- Cement share: Now we need to work out how much cement we actually need – a fifth of the dry volume is what we need, so 1.82 cubic meters divided by 5.5 is 0.33 cubic meters
- Bags required: Divide the cement share by the volume of a single bag (that’s 0.0347m³ in this case), and you get roughly 10 bags. And when you round that up to the nearest whole number, you end up at 10 bags.
So there you have it – a single 100 sq ft room with a 5 inch M20 slab is going to need roughly 10 bags of cement. Scale that up to as many rooms as you need, and you’re in business.
Step 3: Worked Example – Plastering
Okay, take a 100 sq ft wall surface. Let’s plaster it with a 12 mm thick layer of plaster – we’re working with a 1:6 cement to sand ratio here
- Area: The area of the wall is 100 sq ft – remember to convert that to 9.29 sq m if you need to.
- Thickness: The plaster is 12 mm thick, which is 0.012 m in metric. If you work with metric, make a note of that.
- Wet volume: Multiply the area by the thickness to get the wet volume – 9.29 x 0.012 = 0.1115 cubic meters
- Dry volume: Now multiply that wet volume by a factor that takes into account the mix (in this case, 1.27) to get the dry volume – 0.1115 x 1.27 = 0.1416 cubic meters
- Cement share: Now for the fun part – we work out what share of the dry volume is cement. A 1:6 ratio sums to 7, so we divide by 7 to get the cement required. 0.1416 divided by 7 is 0.0202 cubic meters
- Bags required: Finally, divide the cement share by the volume of a single bag (in this case 0.0347m³) and you get about 0.58 bags. For every 100 sq ft of wall – that’s roughly 0.6 bags of cement
That actually sits with the figure most site engineers use as a rough guide – roughly 0.6 bags of cement per 100 sq ft for a standard 12 mm, 1:6 internal plaster coat.
Step 4: Worked Example — Brickwork
For 1 cubic meter of brick masonry using a 1:6 mortar ratio, mortar typically makes up about 30% of the total brickwork volume (the rest is brick).
- Mortar volume: 1 cum × 0.30 = 0.30 cubic meters
- Dry volume: 0.30 × 1.33 = 0.399 cubic meters
- Cement share (1 ÷ 7): 0.399 ÷ 7 = 0.057 cubic meters
- Bags required: 0.057 ÷ 0.0347 ≈ 1.64 bags per cubic meter of brickwork
Step 5: Get a Total Count – Bag by Bag
- Once you have the number of bags needed for every single part of the house – the footings, columns, beams, slabs, brick walls and the plastering work – add them all together then chuck on a standard 5% extra to account for all the inevitable waste that ends up on site and the hassle of handling them. Thats your actual order amount. One that’s tailored to your house’s dimensions and the mix design you want to use – not just some rough estimate you’ve pinched off someone else’s project.
Step 6: Only Check Your Sanity with the Rule-of-Thumb – Not Take it as Law
Most site engineers use a rough guide of about 0.4 bags of cement per square foot of built up space for a standard residential build that goes from the foundations up to the finishing work. This is alright for a quick check to make sure your proper calculation is on the right lines, but dont go and use it as your final number – it just wont be accurate enough. The reason is simple – every house is different in terms of wall thickness, slab depth and number of floors, so a single flat number just wont cut it.
Step 7: Order Cement in Stages to Match Your Build Schedule
Rather than ordering the whole load all at once, break it down into batches that fit in with when you need them in the build – so foundation and structure first, plastering and finishing a bit closer to when those phases start. This keeps the cement fresh for when its actually needed and avoids storing it for ages which can cause it to degrade.
A Case Study From a Real Order Pattern
A 1,200 sq ft one-storey house, with standard 9-inch outer & 4.5-inch inner brick walls , an M20 RCC frame & 12 mm plaster on both wall faces , works out roughly as follows – you’re looking at around 130-150 bags for the foundation & RCC frame (that’s footings, columns, beams & roof slab combined) , 90-110 bags for brickwork all over the place (that’s both external & internal walls) , and around 70-85 bags for plastering the front & back of every wall . Now, take all this, add in a wee bit of a 5% allowance for waste, and you’re talking a total of somewhere between 300-350 bags . And honestly, a dealer we spoke to here in Tezpur said that matches pretty much to what he’s seen other similar-sized houses in the area chug through – when you order the materials bit by bit , rather than just going with a wild guess.
That range is waaay under the rough estimate of 0.4 bags per sq ft of floor space – which would have put us at a whoppin 480 bags for 1,200 sq ft . But that’s the thing, single-storey homes built with the standard wall thickness used here, that’s exactly why that rough estimate was always meant to be no more than a starting point . Not a substitute for actually crunching the numbers.
The Takeaway
Estimating cement requirement isn’t complicated math — it’s the same four-step formula (wet volume, dry volume, mix ratio, bags) applied consistently to each part of the house. Homeowners who take the time to break the calculation down by component, rather than relying on a flat per-square-foot guess, consistently order closer to what they actually need — which means less wasted capital sitting in a store room, and no mid-pour delivery scrambles that compromise the final structure.
At Amrit Cement, our dealers can help homeowners and site engineers work through this calculation for their specific house design, mix grade, and construction phase. Roof to Foundation Dhalai starts with ordering the right quantity, at the right time.
Working out your cement quantity for an upcoming project? Check out Amrit Cost Calculator to find out the cost of cement to construct your Dream house.