A Good House Doesn’t Begin With Cement. It Begins With Choosing the Right Cement.
Walk onto any construction site.
You’ll probably hear one question before anything else.
“Which cement are we using?”
It sounds like a simple question.
It isn’t.
Because cement isn’t chosen by looking at the biggest number printed on the bag.
It is chosen by looking at the job.
A roof slab asks something different from cement than a plastered wall.
Brick masonry has different expectations than a beam.
Flooring doesn’t behave like a column.
Good construction begins when the material matches the application.
That is exactly why Ordinary Portland Cement (OPC) 43 continues to be one of the most trusted choices for residential construction.
It wasn’t designed to be the fastest cement.
It wasn’t designed to be the strongest cement available.
It was designed to be a dependable general construction cement that performs consistently across the jobs found in almost every home.
The key, however, is knowing how to use it properly.
Because even excellent cement cannot compensate for poor construction practices.
Let’s start there.
How to Use OPC 43 Correctly
Step 1: Start With Proper Cement Storage
Good cement can lose its quality before construction even begins.
Moisture is usually the reason.
When cement bags absorb moisture during storage, hydration starts inside the bag itself.
Small lumps begin forming.
Performance gradually reduces.
That is why cement should always be stored carefully.
Follow these simple practices:
- Stack bags on wooden pallets or raised platforms.
- Keep them away from damp floors and walls.
- Protect them from rain and moisture.
- Cover the stack properly if stored on site.
- Use older bags first to prevent long storage periods.
These are simple habits.
But they protect every bag you purchase.
Step 2: Choose Clean Sand
Most homeowners focus only on cement.
Experienced builders also look at the sand.
Because mortar is a partnership.
Even the best cement cannot compensate for poor-quality sand.
Dirty sand containing excessive silt, clay or organic matter affects:
- Bond strength.
- Surface finish.
- Durability.
- Workability.
Always use clean, well-graded sand suitable for the intended application.
It is one of the easiest ways to improve masonry and plaster quality without increasing construction cost.
Step 3: Measure the Mortar Properly
Construction should never depend on guesswork.
One mason adds more cement.
Another adds more sand.
A third pours extra water.
By the end of the day, every batch behaves differently.
Consistency disappears.
Mortar proportions should always follow the engineer’s recommendation or the project specification.
Proper measurement gives every batch the same performance.
That consistency makes construction easier.
And better.
Step 4: Add Only the Required Water
Water helps cement.
Too much water weakens it.
This is probably one of the most common mistakes seen on construction sites.
Extra water may make mortar easier to spread for a few minutes.
But it can also increase shrinkage, reduce strength and affect long-term durability.
The objective is simple.
Add enough water to achieve good workability.
Not more.
A good mason adjusts technique before adjusting the water.
That small habit often separates quality workmanship from average workmanship.
Step 5: Mix the Mortar Thoroughly
The ingredients may be right.
But the mixing may not be.
And that changes everything.
Imagine adding sugar to a cup of tea and stirring only once.
Some sips will be sweet.
Others won’t.
Mortar behaves in much the same way.
If cement and sand are not mixed uniformly before adding water, some portions become cement-rich while others contain more sand than they should. The result is inconsistent performance across the wall or plastered surface.
Whether mixing by hand or with a mechanical mixer, make sure the materials are blended evenly before water is added. Continue mixing until the mortar has a uniform colour and consistency.
Good mortar isn’t created by chance.
It is created by careful preparation.
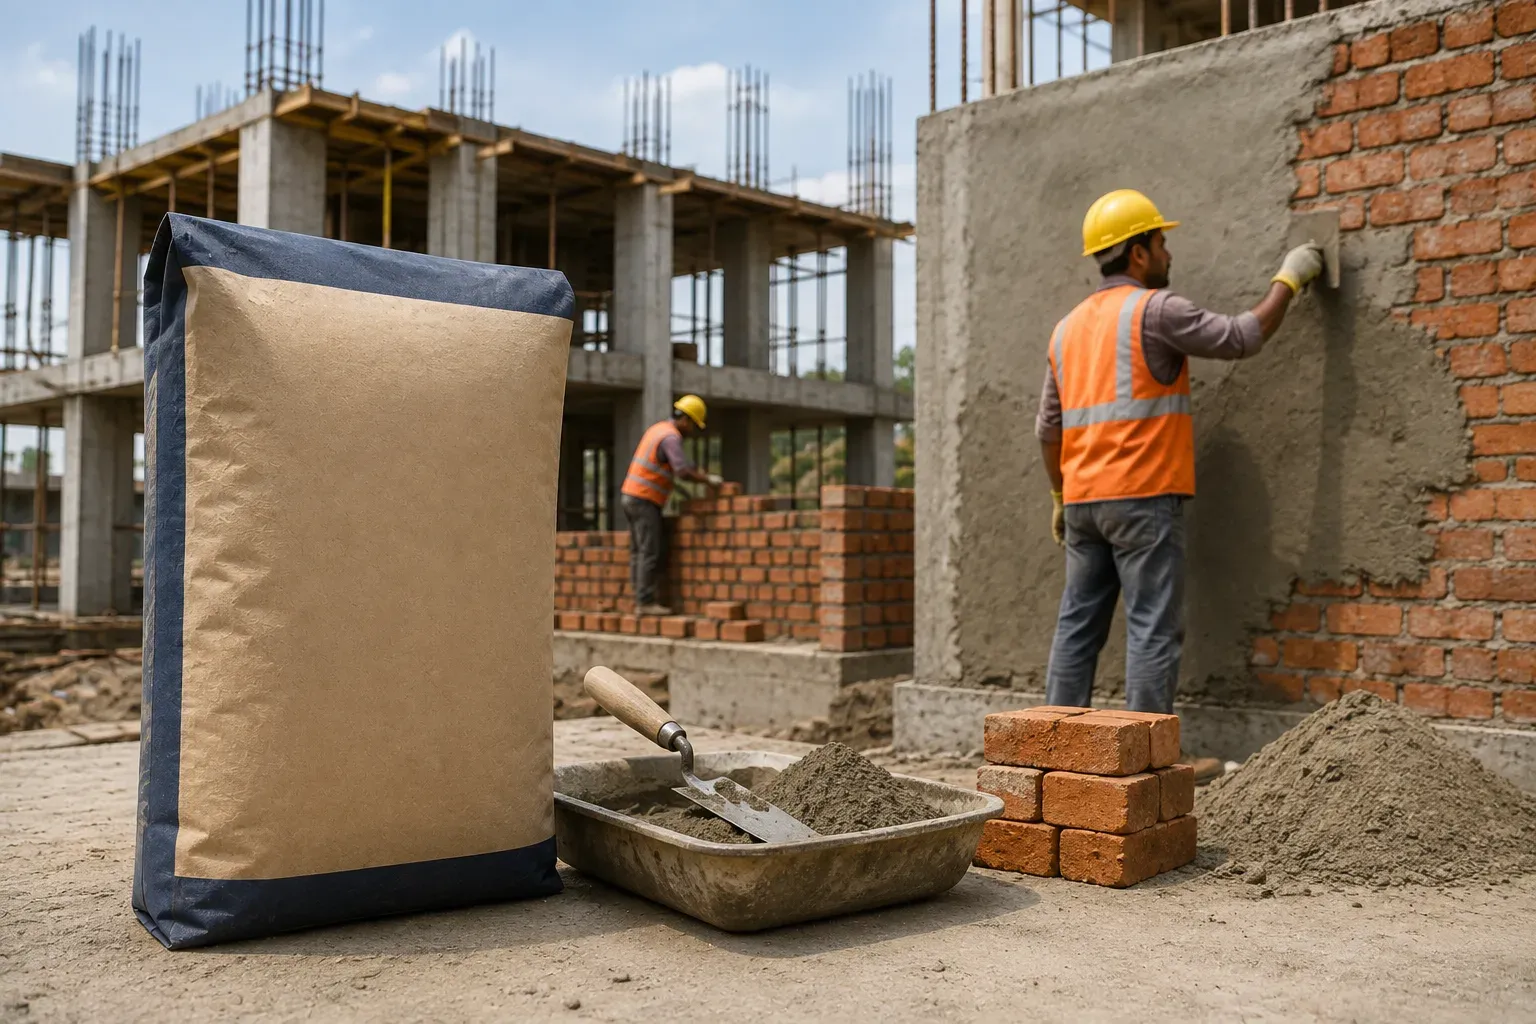
Step 6: Use Fresh Mortar for Brick Masonry
Once the mortar is ready, the next focus is how it is used.
For cement for brick masonry, the objective is simple.
Create a strong and continuous bond between every brick.
That means the mortar should:
- Be applied evenly across the bed.
- Fill both horizontal and vertical joints completely.
- Not be allowed to dry before the brick is placed.
- Be used while it is still fresh and workable.
One practice that should always be avoided is reusing mortar that has already started setting.
Adding water again may make it look usable.
It does not restore its original properties.
Fresh mortar always delivers better performance than trying to rescue an old batch.
Step 7: Follow Good Practices While Plastering
Plaster is often judged by how smooth it looks.
But a good plaster finish begins much earlier.
It begins with surface preparation.
Before applying plastering cement, make sure the wall is clean and free from loose particles, dust and excess mortar. If the masonry is very dry, lightly dampen the surface before plastering. This prevents the wall from absorbing water too quickly from the fresh mortar.
While applying plaster:
- Maintain a uniform thickness.
- Avoid overworking the surface after it begins to stiffen.
- Finish the surface using proper tools rather than adding extra water.
- Complete one section properly before moving to the next.
Good plaster is never about speed.
It is about control.
That is why experienced masons spend as much time preparing the wall as they do applying the plaster.
Step 8: Never Skip Curing
If there is one step that deserves extra attention, it is this one.
Many people think construction ends once the wall is plastered or the bricks are laid.
Actually, one of the most important stages has just begun.
Curing.
Cement continues gaining strength because of hydration.
That process needs moisture.
Without proper curing, hydration slows down before it is complete.
The consequences may include:
- Surface cracks.
- Reduced bond strength.
- Lower durability.
- Poor long-term performance.
Whether you are using plastering cement or cement for brick masonry, proper curing is essential.
A few days of patience can add years to the life of the structure.
Common Mistakes to Avoid While Using OPC 43
Good construction is often about avoiding simple mistakes.
Here are some of the most common ones.
Choosing Cement Only by the Grade
A higher grade does not automatically mean better construction.
Always choose cement based on the application, not just the number printed on the bag.
Using Dirty Sand
Sand containing excessive silt or impurities affects the quality of mortar.
Clean sand produces better bonding and a better finish.
Adding Too Much Water
More water may improve workability for a short time, but it can reduce strength and increase shrinkage.
Use only the amount of water needed for proper mixing.
Reusing Old Mortar
Mortar that has started setting should not be mixed with additional water and used again.
Prepare a fresh batch instead.
Poor Cement Storage
Cement exposed to moisture begins losing its quality before it reaches the mixer.
Always store bags in a dry, protected location.
Ignoring Curing
Skipping curing is one of the quickest ways to reduce the quality of masonry and plaster.
Even the best cement cannot compensate for poor curing practices.
Why Builders Continue to Trust Amrit Cement OPC 43
A construction project may use hundreds of cement bags.
Builders expect every one of them to perform consistently.
That consistency is what creates confidence on site.
Amrit Cement OPC 43 is manufactured to deliver dependable performance across a wide range of residential and commercial applications.
Whether it is being used as plastering cement, cement for brick masonry, or general construction cement, it is designed to provide the balanced performance that everyday construction demands.
For contractors, that means reliable workability.
For masons, it means easier handling.
For homeowners, it means confidence that the materials supporting their home have been chosen for the right reasons.